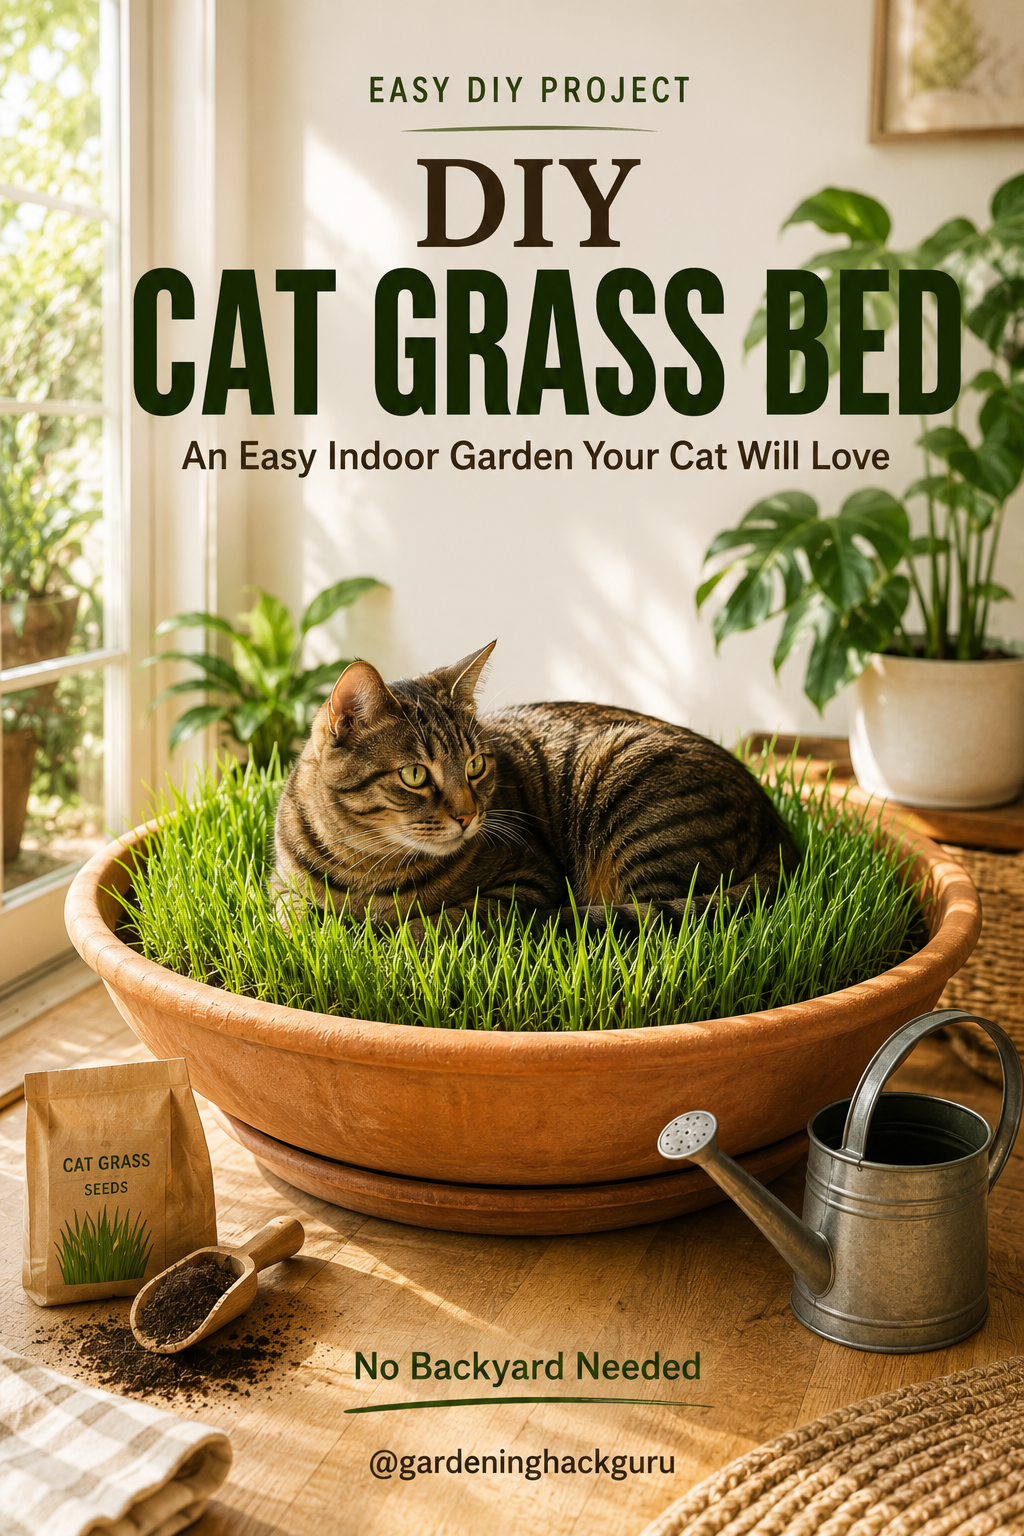
If you have an indoor cat, you’ve probably noticed how interested they become the moment they see something green.
A houseplant? Suddenly fascinating. A bouquet? Apparently irresistible. And if the door opens to a patch of real grass outside, some cats act as though you’ve revealed an entirely new world.
That’s what makes a DIY cat grass bed such a fun little home project.
Instead of growing a tiny pot of cat grass that gets knocked over within a week, you can create a wider miniature lawn where your cat can sniff, nibble, walk through, or—if the planter is large enough—even curl up for a nap.
And despite how impressive the finished cat grass garden looks, it isn’t particularly complicated to make.
With a shallow planter, suitable growing medium, cat-safe grass seed, water, and a sunny spot, you can create a little patch of greenery right inside your home.
Here’s how to do it.
What Exactly Is Cat Grass?
Despite the name, “cat grass” isn’t one particular species.
The term usually refers to young cereal grasses grown specifically for cats, commonly including varieties such as wheat, oat, barley, or rye grass.
It’s different from catnip, and it’s also different from simply digging up lawn grass from your backyard.
For this project, the easiest option is to buy seeds specifically sold for growing cat grass or seeds that are clearly identified as an appropriate, untreated cereal grass.
Avoid using ordinary lawn-seed mixtures. Lawn mixes can contain different grass species and may also have coatings or treatments that you don’t want your cat chewing.
What You’ll Need
You don’t need much equipment for this project:
- A wide, shallow, stable planter
- Drainage holes or another appropriate drainage setup
- A drainage saucer if you’re growing indoors
- Suitable potting or seed-starting mix
- Cat-grass seeds
- Small watering can or spray bottle
- Small scoop
- A bright location suitable for the grass you’re growing
The planter is probably the most important choice.
If you’re only creating grass for nibbling, a smaller rectangular or round planter can work.
But if you want the Pinterest-worthy version that doubles as a cat grass bed, go bigger.
Your cat should genuinely be able to fit inside it comfortably.
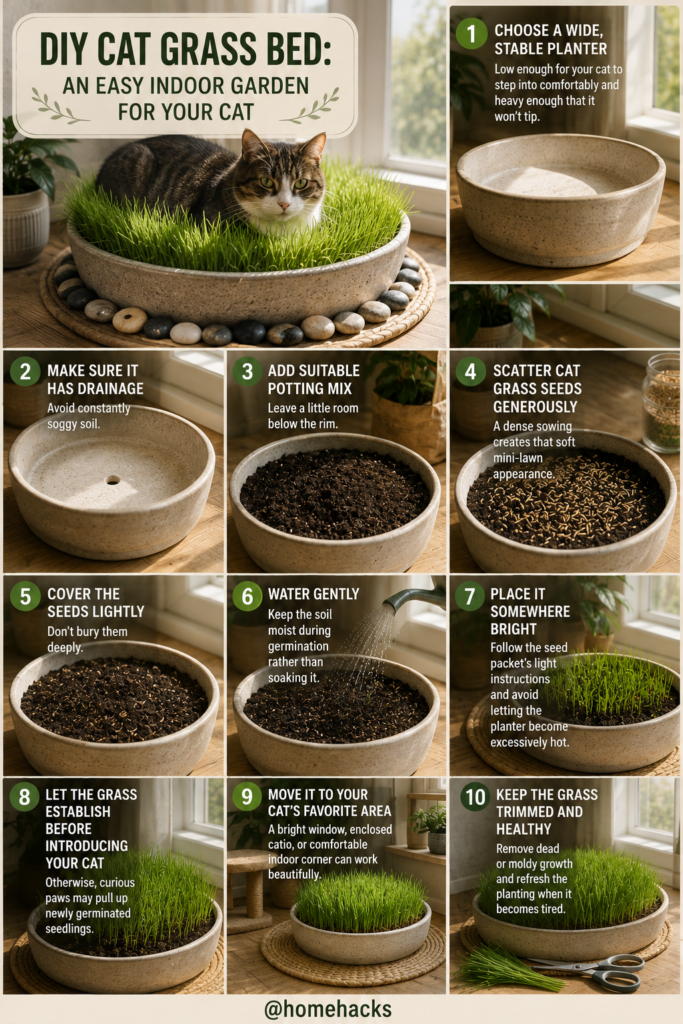
1. Choose a Wide, Stable Planter
Start with something low and broad rather than a tall flowerpot.
Cats don’t exactly have a reputation for approaching things delicately. If the planter is narrow or top-heavy, there’s a good chance an enthusiastic jump will send soil across the floor.
A heavier terracotta, ceramic, or sturdy planter can work well.
Look for relatively low sides so your cat can step into the planter comfortably.
If you’re making an actual lounging bed, place your cat beside the empty planter before planting anything. You’ll quickly see whether you’ve chosen something large enough.
Don’t forget the weight either.
A huge ceramic planter filled with damp soil can become extremely heavy, so decide where it’s going before filling it.
2. Make Sure Water Can Drain
Grass needs moisture, but you don’t want the roots sitting permanently in soggy soil.
Choose a planter with appropriate drainage and place a saucer underneath it if you’re keeping it indoors.
This is particularly important if the planter is sitting on hardwood flooring.
Nobody wants their cute Pinterest DIY project to end with a water stain on the floor.
Check the saucer after watering and don’t allow excess water to become a permanent puddle underneath the planter.
3. Add Your Growing Medium
Fill the planter with a suitable growing medium, leaving some room below the rim.
You don’t need to pack it down until it’s rock solid. Grass roots need a reasonable growing environment, and overly compacted material can make watering more difficult.
Because your cat may eventually chew the grass and interact directly with the planter, choose your growing materials thoughtfully.
Avoid adding random garden chemicals, pesticides, or fertilizers that aren’t appropriate for this situation.
The seed supplier’s growing instructions are a good starting point.
4. Sow the Cat Grass Generously
This is where the project starts becoming satisfying.
Instead of carefully spacing individual seeds like you might with vegetables, cat grass is usually grown quite densely.
Scatter the seeds evenly across the surface according to the seed packet’s directions.
A generous sowing creates the thick, lush miniature-lawn appearance that makes a cat grass bed so appealing.
Try to distribute them across the entire planter rather than dumping everything into the middle.
That way you’ll eventually get a relatively even carpet of grass.
5. Cover the Seeds Lightly
Follow your seed packet’s planting-depth instructions.
Many cat-grass seeds only need a relatively light covering.
After sowing, gently spread the recommended amount of growing medium over the seeds.
Don’t press everything down aggressively.
You’re creating a comfortable environment for germination—not building a patio.
6. Water Gently
Give the newly planted seeds a gentle watering.
A spray bottle or watering can with a gentle flow can be useful because a powerful stream of water may push all those carefully distributed seeds into one corner.
The goal during germination is generally to maintain suitable moisture without turning the planter into a swamp.
Check it regularly.
Indoor conditions vary considerably depending on temperature, sunlight, humidity, planter size, and growing medium, so don’t rely blindly on a rigid watering schedule.
Look at what’s actually happening in the planter.
7. Give It Enough Light
Put your newly planted cat grass somewhere that receives the light recommended for the particular seed you’re growing.
A bright window can be ideal in many homes.
Just watch conditions carefully.
A planter sitting against extremely hot glass can behave very differently from one receiving gentler morning light.
Rotate the container occasionally if you notice the grass leaning strongly toward the window.
One mistake I’d avoid is immediately putting the planter in your cat’s favorite spot before the seeds have established.
Because there’s a decent chance your cat will discover the freshly prepared soil and decide you’ve built them an enormous new digging box.
8. Keep Your Cat Away During Germination
This may be the hardest step.
Your cat sees mysterious new container.
Your cat sees soil.
Your cat sees you paying attention to it.
Obviously, your cat must investigate immediately.
If possible, keep the planter somewhere your cat can’t access while the seeds germinate and the roots become established.
Otherwise you may wake up to find tiny seedlings scattered across the room.
Wait until the grass has developed enough to tolerate normal interaction before introducing it.
The exact timing will depend on the seed variety and growing conditions, so use the seed supplier’s guidance rather than relying on a fixed number of days.
9. Introduce the Grass Bed
Now comes the fun part.
Move the established planter into your chosen location and let your cat discover it naturally.
You don’t need to place your cat inside.
Some cats will immediately climb in.
Others will sniff around the edge for ten minutes.
Some will start chewing the grass.
And, because cats enjoy ignoring our plans, yours may simply sit beside the expensive grass bed and stare at it.
Give them time.
Once the planter becomes part of their normal environment, they may start using it more frequently.
10. Put It Somewhere Your Cat Already Likes
Location matters more than people realize.
You could build the world’s most beautiful cat garden, but if it’s sitting in a dark corner your cat never visits, it probably won’t get much attention.
Try placing it near a favorite sunny window.
An enclosed catio can also be a wonderful location.
If your cat enjoys watching birds or neighborhood activity through a window, putting the grass bed nearby can create a lovely little relaxation spot.
Just make sure the location remains appropriate for the grass and doesn’t expose your cat or planter to unsafe temperatures.
11. Keep the Grass Looking Healthy
A cat grass bed isn’t permanent landscaping.
Eventually, individual blades will become damaged, flattened, yellow, or tired.
Remove dead or unhealthy growth and maintain the grass according to the seed supplier’s instructions.
Avoid allowing the planter to remain constantly wet.
Dense grass combined with excessive moisture and poor airflow can create conditions where mold becomes a problem.
If you notice significant mold or the grass has deteriorated badly, don’t try to make it last forever.
Replace it.
Cat grass is easy enough to regrow.
12. Consider Growing Two Trays
Here’s a trick that makes this project much easier long-term.
If your cat absolutely loves the grass bed, consider having two plantings in rotation.
While one is being used, the other can be germinating or recovering somewhere your cat can’t reach.
Then swap them.
This is especially helpful for cats that don’t gently nibble grass but instead approach it like tiny lawnmowers.
You can even use removable trays inside a larger decorative planter.
That way you don’t need to completely rebuild the entire bed every time the grass needs refreshing.
Can My Cat Actually Lie on the Grass?
If you’re building the larger version, yes—that’s part of the fun.
But design it for that purpose.
The container should be wide enough for your cat, stable enough not to tip, and low enough to enter comfortably.
Don’t expect the grass to remain perfectly upright once a cat starts sleeping on it.
It won’t.
You’ll get flattened patches and crooked blades.
Personally, I think that makes the project better.
A slightly flattened patch of grass is proof that your cat actually likes the thing you spent time making.
Where Should You Put a Cat Grass Bed?
A few locations work particularly well.
Beside a sunny window is probably the classic choice. Your cat gets grass plus a view.
An enclosed catio can make the experience feel even more outdoorsy while keeping your cat contained.
A bright corner of the living room can work if you want the planter to become part of your decor.
Apartment dwellers can also place a smaller version near a balcony door, provided the area itself is secure and the growing conditions are suitable.
The important thing is balancing what the grass needs with where your cat actually wants to spend time.
Make It Look Good in Your Home
One reason I love this project is that it doesn’t have to look like pet equipment.
Choose a planter that works with your decor.
A large terracotta bowl looks beautiful in a warm Mediterranean-style interior.
A simple stone-colored planter works well with modern neutral rooms.
A rectangular wooden-look planter can suit farmhouse or rustic spaces, provided the actual planting container and materials are appropriate.
Keep the styling simple.
The grass itself provides plenty of color.
You don’t need to surround it with dozens of decorative objects.
And skip loose decorative stones inside the cat-accessible area if there’s any possibility your pet might play with or swallow them.
Don’t Use Ordinary Lawn Treatments
This is important.
The goal isn’t to create an actual suburban lawn inside your living room.
Don’t treat the cat grass with lawn weed killers, pesticides, or other products simply because that’s what you’d normally use outside.
Remember that your cat may chew the blades, rub against them, walk through them, and then lick their paws.
Start with appropriate seed and use growing materials suited to the project.
When in doubt about a particular product or plant material, check with your veterinarian.
Cat Grass Isn’t the Same as Catnip
These two are easy to confuse.
Cat grass generally refers to edible cereal grasses such as wheat, oats, barley, or rye grown for cats to nibble.
Catnip is a completely different plant.
Many cats react behaviorally to catnip, while others barely respond at all.
Your grass bed doesn’t need catnip to work.
In fact, keeping the project simple makes maintenance much easier.
What About Other Houseplants?
Don’t assume that because your cat safely eats cat grass, every green plant in your home is equally safe.
They’re not.
Some common houseplants can be toxic to cats.
A cat grass bed may give your pet an appropriate plant to investigate, but it doesn’t guarantee they’ll stop chewing other greenery.
If you share your home with a cat, it’s worth checking your existing plants individually and keeping toxic species out of reach—or preferably out of the home where appropriate.
Common Cat Grass Bed Mistakes
The biggest mistake is making the planter too small.
If the goal is a lounging bed, your cat needs enough room to actually lie down.
Another is overwatering. Dense grass looks thirsty, but permanently wet growing material can create problems.
Introducing the planter too early is another classic mistake. Give the roots time to establish before releasing your enthusiastic gardener.
And finally, don’t become emotionally attached to perfect grass.
Your cat will sit on it.
They’ll chew it.
They may dig at it.
They might flatten the beautiful center section within five minutes.
That’s the whole point.
An Easy Indoor Garden for Apartment Cats
I especially like this project for indoor cats living in apartments.
Not everyone has a backyard.
And even people who do may choose to keep their cats indoors for safety.
A small indoor cat garden adds an interesting natural texture to your cat’s environment without requiring an entire outdoor space.
Place it near a window, add a comfortable nearby perch, and suddenly an unused corner can become your cat’s favorite place in the house.
It also looks much nicer than another piece of plastic pet furniture.
Final Thoughts
A DIY cat grass bed is one of those projects that looks far more complicated than it actually is.
You need a good planter, suitable growing medium, appropriate cat-grass seed, water, light, and a little patience.
That’s about it.
The real trick is designing it around your cat.
Make the planter stable. Make it large enough. Let the grass establish properly. Put it somewhere your cat already enjoys spending time. And accept that your beautiful miniature lawn probably won’t stay Pinterest-perfect once its new owner moves in.
That’s actually the best part.
Instead of creating another decoration your cat isn’t allowed to touch, you’re creating something specifically for them to climb into, investigate, nibble, and enjoy.
And when you eventually find your cat curled up asleep in the middle of the grass, flattening half of your carefully grown lawn?
I’d call that a successful DIY.