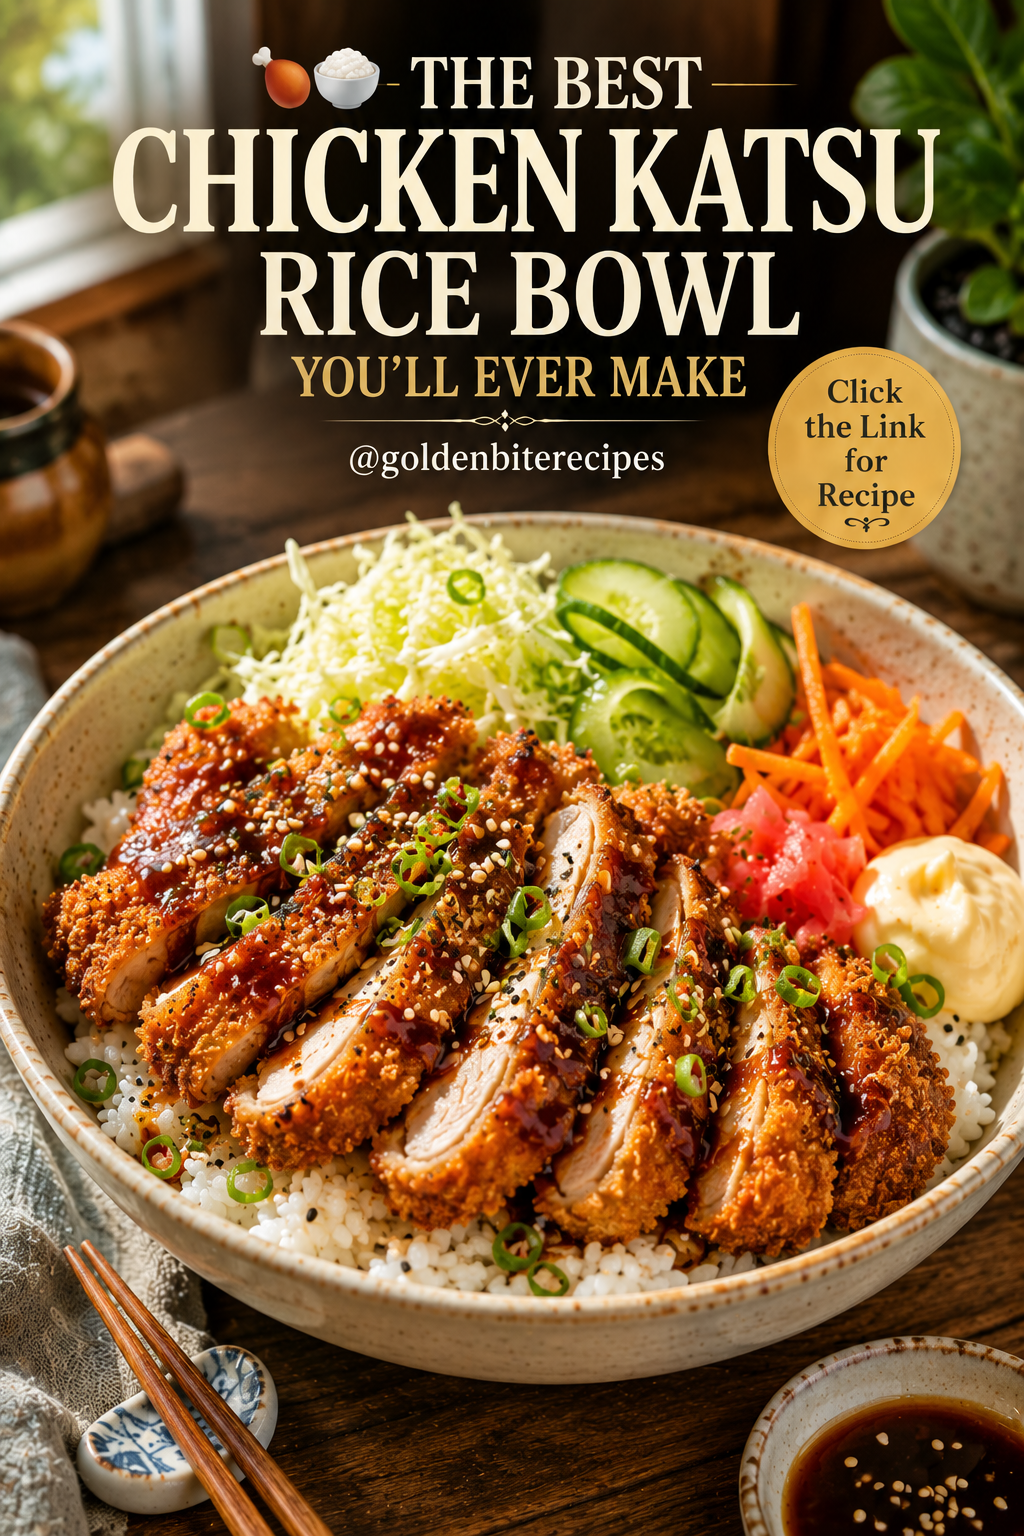
Golden, extra-crispy chicken, fluffy steamed rice, crunchy cabbage, fresh vegetables, and a sweet-savory katsu sauce come together in this irresistible Chicken Katsu Rice Bowl.
It has everything you want in a comfort-food dinner: crispy panko coating, juicy chicken inside, warm rice, and plenty of tangy Japanese-style sauce. Better yet, you can have these restaurant-worthy bowls ready in about 35 minutes.
Why You’ll Love This Recipe
- Extra-crispy panko chicken
- Tender and juicy inside
- Easy 35-minute dinner
- Sweet and tangy homemade katsu sauce
- Perfect for meal-prep bowls
- Easy to customize
- Family-friendly
- Better than takeout
Ingredients
For the Chicken Katsu
- 2 large boneless, skinless chicken breasts
- ½ teaspoon salt
- ½ teaspoon black pepper
- ½ cup all-purpose flour
- 2 large eggs
- 1½ cups Japanese panko breadcrumbs
- Vegetable oil for frying
For the Rice Bowls
- 3 cups cooked Japanese short-grain rice
- 2 cups finely shredded green cabbage
- 1 cucumber, thinly sliced
- 1 carrot, julienned
- 2 green onions, sliced
- Toasted sesame seeds
- Pickled ginger, optional
Homemade Katsu Sauce
- ¼ cup ketchup
- 2 tablespoons Worcestershire sauce
- 1 tablespoon soy sauce
- 1 tablespoon honey or brown sugar
- 1 teaspoon Dijon mustard
Step-by-Step Instructions
1. Prepare the Chicken
Slice each chicken breast horizontally to create thinner cutlets.
Place between sheets of parchment paper and gently pound until they’re an even thickness of approximately ½ inch.
Season both sides with salt and black pepper.
2. Prepare the Breading Station
Set out three shallow bowls:
- Flour in the first
- Beaten eggs in the second
- Panko breadcrumbs in the third
3. Bread the Chicken
Coat each chicken cutlet lightly in flour and shake off the excess.
Dip into the beaten egg, then press firmly into the panko breadcrumbs until completely coated.
4. Fry Until Golden
Heat about ½ inch of vegetable oil in a large skillet to approximately 340–350°F (170–175°C).
Carefully add the chicken.
Fry for around 3–4 minutes per side, depending on thickness, until deeply golden and crisp and the center reaches 165°F (74°C).
5. Let the Katsu Rest
Transfer the chicken to a wire rack rather than directly onto paper towels. This helps keep the bottom crispy.
Allow it to rest for about 5 minutes.
6. Make the Katsu Sauce
Mix ketchup, Worcestershire sauce, soy sauce, honey, and Dijon mustard until smooth.
Taste and adjust the sweetness if needed.
7. Slice the Chicken
Using a sharp knife, cut each chicken cutlet into thick strips.
The outside should be golden and crunchy while the center remains moist and juicy.
8. Build the Rice Bowls
Add a generous scoop of warm steamed rice to each bowl.
Arrange shredded cabbage, cucumber, and carrot around the rice.
Place the sliced crispy chicken katsu prominently over the top.
9. Add the Sauce
Drizzle the homemade katsu sauce generously over the crispy chicken.
Keep some extra sauce on the side for dipping.
10. Finish and Serve
Sprinkle with green onions and toasted sesame seeds.
Serve immediately while the chicken is still hot and crispy.
Tips for Extra-Crispy Chicken Katsu
Use Japanese panko. Its larger flakes create the signature light, crunchy coating.
Keep the chicken evenly thin. This allows it to cook quickly without burning the breadcrumbs.
Press the panko onto the chicken. A firm coating gives you better coverage and crunch.
Don’t overcrowd your skillet. Fry in batches if necessary so the oil temperature doesn’t drop dramatically.
Use a wire rack. It allows air to circulate underneath the chicken and prevents sogginess.
Easy Variations
Spicy Chicken Katsu Bowl
Mix sriracha or Japanese chili oil into the katsu sauce.
Katsu Curry Bowl
Serve the crispy chicken and rice with Japanese curry sauce.
Chicken Katsu with Spicy Mayo
Drizzle with a mixture of mayonnaise, sriracha, and lime juice.
Avocado Katsu Bowl
Add sliced avocado, cucumber, edamame, and sesame seeds.
Air Fryer Chicken Katsu
Spray the breaded chicken lightly with oil and air fry at 400°F (200°C) until golden and cooked through, flipping halfway.
What to Serve With Chicken Katsu Bowls
These bowls are already a complete meal, but they’re also delicious with miso soup, edamame, Japanese cucumber salad, seaweed salad, pickled vegetables, or steamed broccoli.
Storage & Reheating
Store the chicken separately from the rice, vegetables, and sauce whenever possible.
Refrigerate cooked chicken katsu for up to 3 days.
For the best texture, reheat it in an oven or air fryer until hot and crispy again. Avoid microwaving if possible because it softens the panko coating.
Frequently Asked Questions
What’s the difference between chicken katsu and fried chicken?
Chicken katsu uses thin chicken cutlets coated in Japanese panko breadcrumbs, giving it a particularly light and crispy crust.
Can I use chicken thighs?
Yes. Boneless, skinless chicken thighs are delicious and naturally juicy.
Can I prepare the chicken ahead?
You can bread the chicken a few hours ahead and keep it covered in the refrigerator. Fry shortly before serving for maximum crispiness.
What rice works best?
Japanese short-grain rice is ideal, but jasmine or other white rice can also work.
Can I bake chicken katsu?
Yes. Lightly spray the breaded chicken with oil and bake at 425°F (220°C) until golden and safely cooked through.
Final Thoughts
This Chicken Katsu Rice Bowl combines crunchy golden chicken, fluffy rice, crisp vegetables, and tangy-sweet katsu sauce in every bite.
It’s simple enough for a weeknight but looks and tastes like something you’d order from your favorite Japanese restaurant. Make extra chicken—you’ll probably want another bowl.