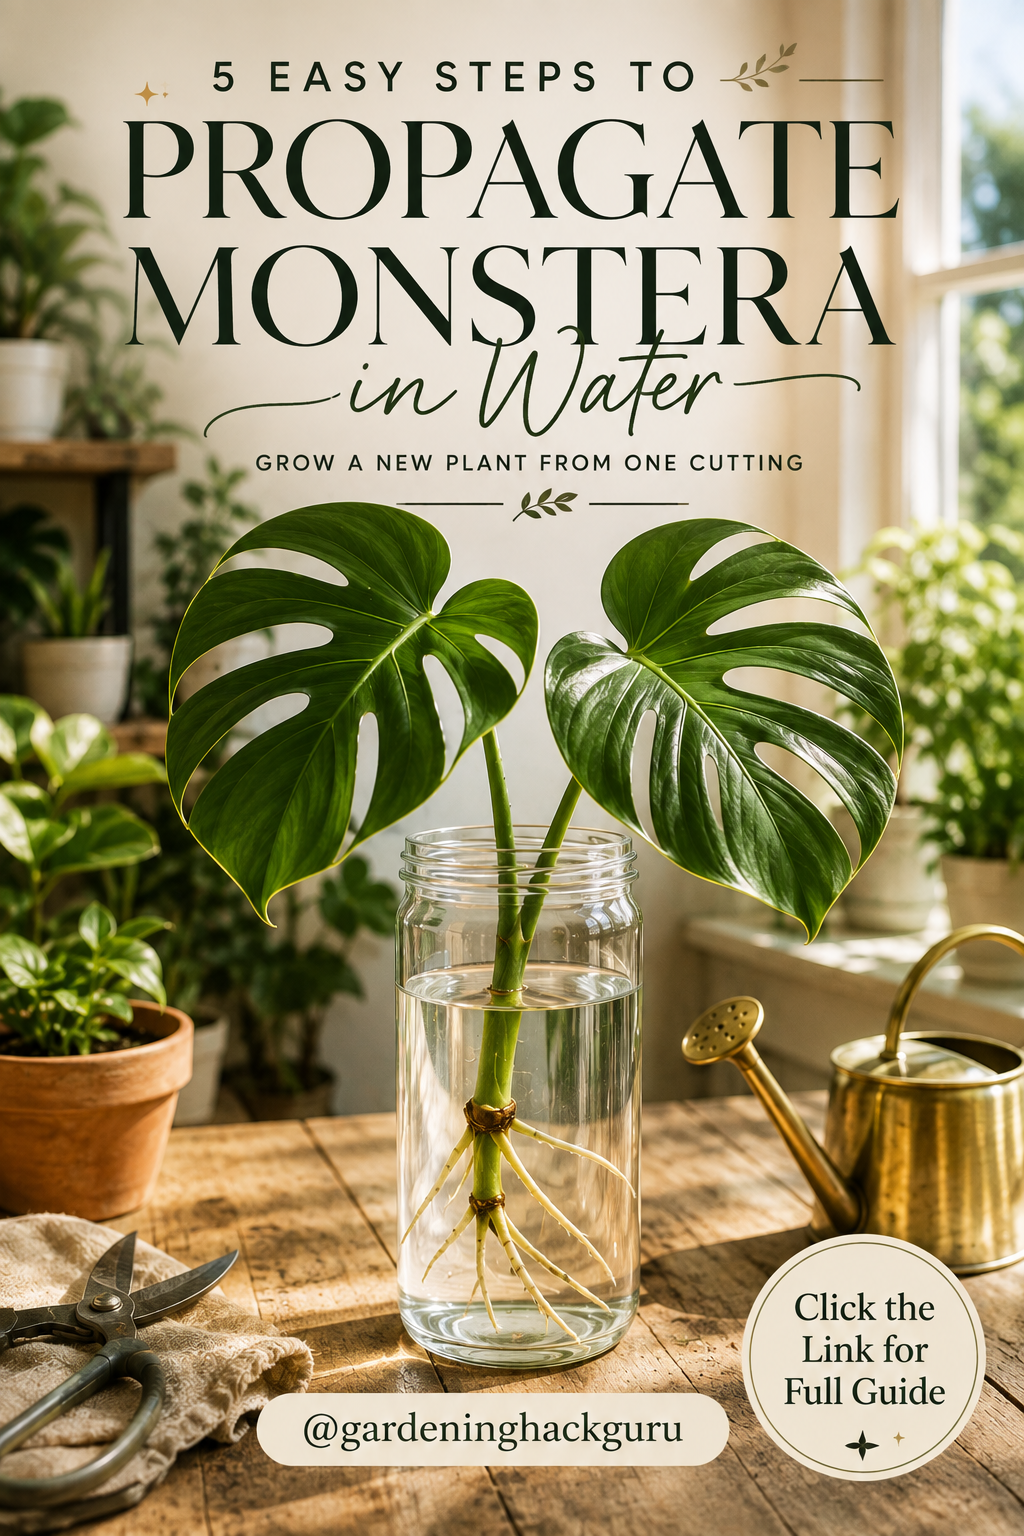
Monstera deliciosa is one of the most popular houseplants for a reason. Its large, glossy leaves and dramatic splits can instantly give a room a lush tropical feel. Even better, you don’t necessarily need to buy another plant when you want more Monsteras—you can propagate the one you already have.
Water propagation is one of the simplest ways to grow a new Monstera from a healthy cutting. It also lets you watch the roots develop through the glass, making the process especially satisfying for beginner plant lovers.
The most important part is understanding where to cut. A beautiful Monstera leaf by itself won’t develop into a complete new plant. Your cutting needs a node, because that’s where new roots and future growth can develop.
Here’s how to do it in five easy steps.
1. Choose a Healthy Monstera Cutting
Start with a healthy, established Monstera plant.
Look for a stem with:
- At least one healthy leaf
- A visible node
- Firm, disease-free growth
- Ideally, a small aerial root
The node is the slightly swollen section of the stem where a leaf, aerial root, or new growth emerges.
This is the most important part of your cutting. Without a node, you may be able to keep a leaf looking attractive in water for some time, but it won’t develop into a complete new Monstera plant.
What should you avoid?
Don’t choose stems that are yellowing, rotting, severely damaged, or showing signs of pests. Starting with healthy plant material gives your cutting the best chance of developing strong roots.
2. Cut Just Below the Node
Once you’ve identified a suitable stem, it’s time to make your cutting.
Use clean, sharp pruning shears or scissors. Sterilizing the blades before cutting helps reduce the chance of introducing bacteria or disease.
Make your cut just below the node, leaving enough stem beneath it to sit comfortably in water.
Try not to damage the node itself.
For a simple propagation, one healthy leaf and one good node are usually enough. Larger cuttings can work too, but they require more energy and can be harder to position in a propagation jar.
After cutting, inspect the stem carefully. It should look firm and healthy rather than brown or mushy.
3. Place the Node in Water
Choose a clean glass jar or propagation vessel.
A tall, relatively narrow jar works especially well because it supports the stem while allowing the leaf to remain upright.
Fill the container with clean water and place the cutting inside.
The key is simple:
Keep the node underwater, but keep the leaf above water.
If your cutting has an aerial root, it can also be placed in the water.
Avoid submerging large sections of the stem unnecessarily. Leaves sitting in water are particularly likely to deteriorate.
A clear glass container has another advantage: you can easily monitor root development and notice if the water becomes cloudy.
4. Give It Bright, Indirect Light
Now your Monstera cutting needs the right environment to develop roots.
Place the jar near a bright window where it receives plenty of indirect sunlight.
Avoid intense direct afternoon sun. Strong sunlight can heat the water and stress or scorch the cutting.
An east-facing window can work beautifully, while brighter south- or west-facing windows may require a sheer curtain.
Keep the water fresh
Don’t simply put the cutting in a jar and forget about it.
Change the water regularly, especially if it becomes cloudy or develops an odor. Clean water helps create a healthier environment for developing roots.
If the water level drops through evaporation, top it up so the node remains submerged.
Keep the container itself reasonably clean as well.
5. Wait for Strong Roots, Then Pot It
This is where patience pays off.
After some time, you should begin seeing small pale roots emerging from the node. They’ll gradually lengthen and may start producing secondary roots.
Don’t rush to move the cutting into soil the moment you see the first tiny root.
Allow it to establish a healthy network of roots several inches long, ideally with some branching, before transplanting.
When you’re ready, choose a small pot with drainage holes and fill it with an airy, well-draining houseplant mix suitable for aroids.
Gently position the roots inside, fill around them with potting mix, and water thoroughly.
For the first couple of weeks, pay close attention to moisture. Roots that developed entirely in water need time to adjust to growing in potting mix.
How Long Does Monstera Take to Root in Water?
There’s no exact timetable because rooting speed depends on temperature, light, the condition of the cutting, and the time of year.
You may notice the beginnings of roots within a few weeks, while developing a strong enough root system for transplanting can take considerably longer.
Warmer conditions and bright indirect light generally encourage faster growth.
If nothing happens immediately, don’t assume you’ve failed. As long as the cutting remains firm and healthy and the node isn’t rotting, give it more time.
Common Monstera Propagation Mistakes
Even though water propagation is beginner-friendly, a few mistakes can cause problems.
Using a leaf without a node: This is perhaps the biggest mistake. A node is essential for producing a new plant.
Submerging the leaf: Keep foliage above the water to reduce the risk of decay.
Using dirty tools: Always start with clean scissors or pruning shears.
Leaving cloudy water unchanged: Refresh the water and clean the container when needed.
Putting the cutting in harsh direct sunlight: Bright indirect light is safer.
Potting too early: Give your cutting time to develop a substantial root system.
Using an oversized pot: After propagation, start with a container appropriate for the new root system rather than a huge planter that stays wet for too long.
Should You Keep Monstera in Water Permanently?
A Monstera cutting can remain in water for an extended period, particularly if you maintain the water and provide appropriate nutrients.
However, if your goal is a large, mature houseplant, transferring it to a suitable potting mix is often the more straightforward long-term approach.
For decorative water-grown Monsteras, you’ll need to think about more than simply topping up the jar. Plants require nutrients as well as water and light.
Extra Tips for Successful Monstera Propagation
Propagate during spring or summer when possible, since the plant is typically growing more actively. Keep the cutting somewhere warm and away from cold drafts.
You can also use a transparent container so you can enjoy watching the roots grow. It’s both practical and beautiful, especially when displayed on a sunny kitchen shelf or plant station.
And don’t worry if the cutting temporarily seems to focus entirely on roots rather than producing new leaves. Establishing a healthy root system comes first.
Can You Propagate Monstera From Just a Leaf?
This is an important distinction.
A Monstera leaf with its petiole but without a viable node cannot grow into a complete new Monstera plant. It may remain green in water for quite a while, which can make it appear as though propagation is working.
For true propagation, make sure the cutting contains stem tissue with a node.
That’s why identifying the node before making your first cut is so important.
Final Thoughts
Learning how to propagate Monstera in water is one of the easiest ways to expand your indoor plant collection without buying another mature plant.
Remember the five basic steps: choose a healthy cutting, cut below a node, place the node in water, provide bright indirect light, and wait for strong roots before potting.
Once you’ve successfully propagated your first Monstera, the process becomes much less intimidating. Before long, one established plant can provide cuttings for new pots around your home—or even plants to share with friends.