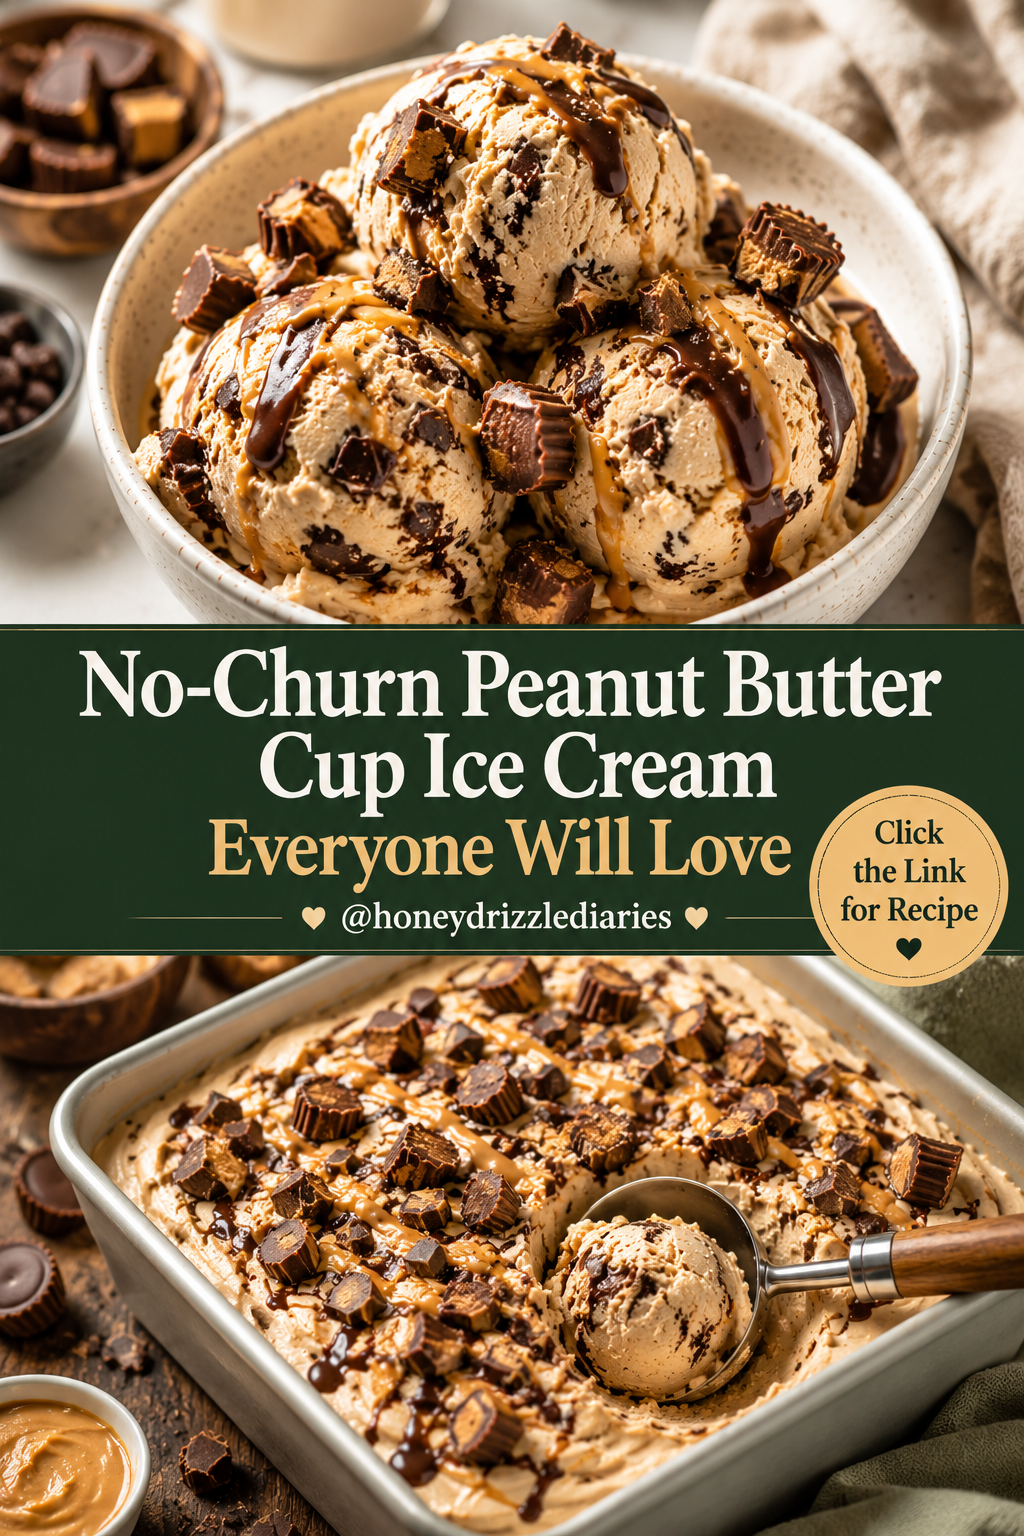
If you love creamy ice cream, peanut butter, chocolate swirls, and chunks of peanut butter cups, this No-Churn Peanut Butter Cup Ice Cream is the perfect dessert to make at home. It is rich, smooth, sweet, nutty, chocolatey, and loaded with candy pieces in every bite.
The best part is that you do not need an ice cream machine. This easy no-churn ice cream uses whipped cream, sweetened condensed milk, peanut butter, vanilla, chocolate sauce, and chopped peanut butter cups. Everything comes together in a few simple steps, then the freezer does the rest.
At Honey Drizzle Diaries, we love desserts that feel fun, indulgent, and easy enough for anyone to make. This peanut butter cup ice cream is perfect for summer, birthdays, movie nights, weekend treats, family desserts, or anytime you want homemade ice cream that tastes like a candy shop dream.
Why You’ll Love This Peanut Butter Cup Ice Cream
This ice cream is creamy, rich, and full of peanut butter chocolate flavor. It tastes like a frozen Reese’s-style dessert, but homemade and even better.
You’ll love this recipe because it is no-churn, simple, and made with easy ingredients. It has a creamy peanut butter base, ribbons of chocolate, and chunks of peanut butter cups throughout.
It is also perfect for parties because you can make it ahead of time and keep it in the freezer until ready to serve.
Ingredients You’ll Need
For the Ice Cream
- 2 cups heavy whipping cream, cold
- 1 can sweetened condensed milk
- 1/2 cup creamy peanut butter
- 1 teaspoon vanilla extract
- Pinch of salt
Mix-Ins
- 1 cup chopped peanut butter cups
- 1/3 cup chocolate syrup or melted chocolate
- 2 tablespoons peanut butter, slightly warmed for swirling
- Extra peanut butter cups for topping
Ingredient Notes
Heavy Whipping Cream
Heavy cream creates the fluffy, creamy base. Make sure it is cold before whipping so it holds volume.
Sweetened Condensed Milk
Sweetened condensed milk gives the ice cream sweetness and smooth texture without needing an ice cream maker.
Peanut Butter
Use creamy peanut butter for the smoothest texture. Classic shelf-stable peanut butter works best because natural peanut butter can separate.
Vanilla
Vanilla adds warmth and balances the peanut butter flavor.
Salt
A tiny pinch of salt makes the peanut butter and chocolate taste richer.
Peanut Butter Cups
Chopped peanut butter cups add texture, sweetness, and that candy-style flavor everyone loves.
How to Make No-Churn Peanut Butter Cup Ice Cream
Step 1: Whip the Cream
Add cold heavy whipping cream to a large mixing bowl. Beat with a hand mixer or stand mixer until stiff peaks form.
The whipped cream should look thick, fluffy, and hold its shape.
Step 2: Make the Peanut Butter Base
In another bowl, mix sweetened condensed milk, peanut butter, vanilla extract, and a pinch of salt until smooth.
The mixture should be creamy and thick.
Step 3: Fold Together
Gently fold the whipped cream into the peanut butter mixture.
Do this slowly so the whipped cream stays airy. This is what gives the ice cream a soft, creamy texture.
Step 4: Add Peanut Butter Cups
Fold in chopped peanut butter cups, saving some for the top.
Try not to overmix. You want the candy pieces spread throughout the ice cream.
Step 5: Layer the Ice Cream
Spoon half of the ice cream mixture into a loaf pan or freezer-safe container.
Drizzle chocolate syrup and warmed peanut butter over the top.
Step 6: Add Swirls
Use a knife or skewer to gently swirl the chocolate and peanut butter into the ice cream.
Do not mix completely. Soft ribbons look prettier and taste better.
Step 7: Add the Second Layer
Add the remaining ice cream mixture on top.
Drizzle with more chocolate and peanut butter, then swirl again.
Step 8: Top and Freeze
Sprinkle extra chopped peanut butter cups over the top.
Cover tightly with plastic wrap or a lid.
Freeze for at least 6 hours, or overnight, until firm.
Step 9: Scoop and Serve
Let the ice cream sit at room temperature for 5 minutes before scooping.
Serve in bowls, cones, waffle bowls, or over brownies.
Tips for the Best No-Churn Ice Cream
Use very cold heavy cream for the best whipped texture.
Do not overmix after adding whipped cream.
Use creamy peanut butter for a smooth base.
Freeze overnight for the best scoopable texture.
Add extra candy pieces on top for a bakery-style look.
Let the ice cream soften slightly before scooping.
Easy Variations
Chocolate Peanut Butter Cup Ice Cream
Add 2 tablespoons cocoa powder to the condensed milk mixture for a chocolate base.
Peanut Butter Brownie Ice Cream
Fold in brownie chunks along with peanut butter cups.
Salted Peanut Butter Cup Ice Cream
Sprinkle flaky sea salt on top before freezing.
Cookies and Peanut Butter Cup Ice Cream
Add crushed chocolate cookies for extra crunch.
Banana Peanut Butter Ice Cream
Fold in small banana slices or banana chips before freezing.
Extra Chocolate Swirl Ice Cream
Add more chocolate fudge sauce between the layers.
What to Serve With Peanut Butter Cup Ice Cream
This ice cream is amazing on its own, but it also pairs beautifully with brownies, chocolate cake, cookies, waffles, pancakes, banana splits, milkshakes, or warm chocolate chip skillet cookies.
For a dessert party, serve it with toppings like chocolate chips, crushed peanuts, caramel sauce, whipped cream, and extra peanut butter cups.
For a cozy treat, scoop it into a bowl and add a drizzle of warm chocolate sauce.
Make-Ahead Tips
This ice cream is perfect for making ahead because it needs freezer time.
You can make it 1 to 2 days before serving. Keep it tightly covered so it stays fresh and does not absorb freezer smells.
For parties, scoop it into bowls right before serving and top with extra chopped peanut butter cups.
Storage Tips
Store the ice cream in a freezer-safe container for up to 2 weeks.
Press plastic wrap directly onto the surface before adding the lid to help prevent ice crystals.
Keep the container tightly sealed.
Frequently Asked Questions
Can I make this without an ice cream machine?
Yes. This is a no-churn ice cream recipe, so no machine is needed.
Can I use crunchy peanut butter?
Yes, but creamy peanut butter gives the smoothest texture.
Can I use natural peanut butter?
It can work, but classic creamy peanut butter is better because it blends more smoothly.
How long does it need to freeze?
Freeze for at least 6 hours, but overnight is best.
Can I add more chocolate?
Yes. Add chocolate chips, fudge sauce, cocoa powder, or chopped chocolate.
Final Thoughts
This No-Churn Peanut Butter Cup Ice Cream is creamy, rich, chocolatey, and packed with peanut butter flavor. It is easy to make at home, does not require an ice cream machine, and tastes like a frozen candy bar dessert.
With a smooth peanut butter base, chocolate swirls, and chunks of peanut butter cups, every scoop feels fun and indulgent. Save this recipe for summer desserts, birthdays, movie nights, or anytime you want a homemade ice cream everyone will love.
Quick Recipe Card
No-Churn Peanut Butter Cup Ice Cream Everyone Will Love
Prep Time: 15 minutes
Freeze Time: 6 hours
Total Time: 6 hours 15 minutes
Servings: 8 servings
Ingredients
- 2 cups cold heavy whipping cream
- 1 can sweetened condensed milk
- 1/2 cup creamy peanut butter
- 1 teaspoon vanilla extract
- Pinch of salt
- 1 cup chopped peanut butter cups
- 1/3 cup chocolate syrup or melted chocolate
- 2 tablespoons warmed peanut butter
Instructions
- Whip cold heavy cream until stiff peaks form.
- In another bowl, mix sweetened condensed milk, peanut butter, vanilla, and salt.
- Gently fold whipped cream into the peanut butter mixture.
- Fold in chopped peanut butter cups.
- Add half the mixture to a loaf pan.
- Drizzle with chocolate syrup and warmed peanut butter.
- Swirl gently with a knife.
- Add the remaining ice cream mixture.
- Add more chocolate, peanut butter, and chopped peanut butter cups on top.
- Cover and freeze for at least 6 hours or overnight.
- Let soften for 5 minutes before scooping and serving.