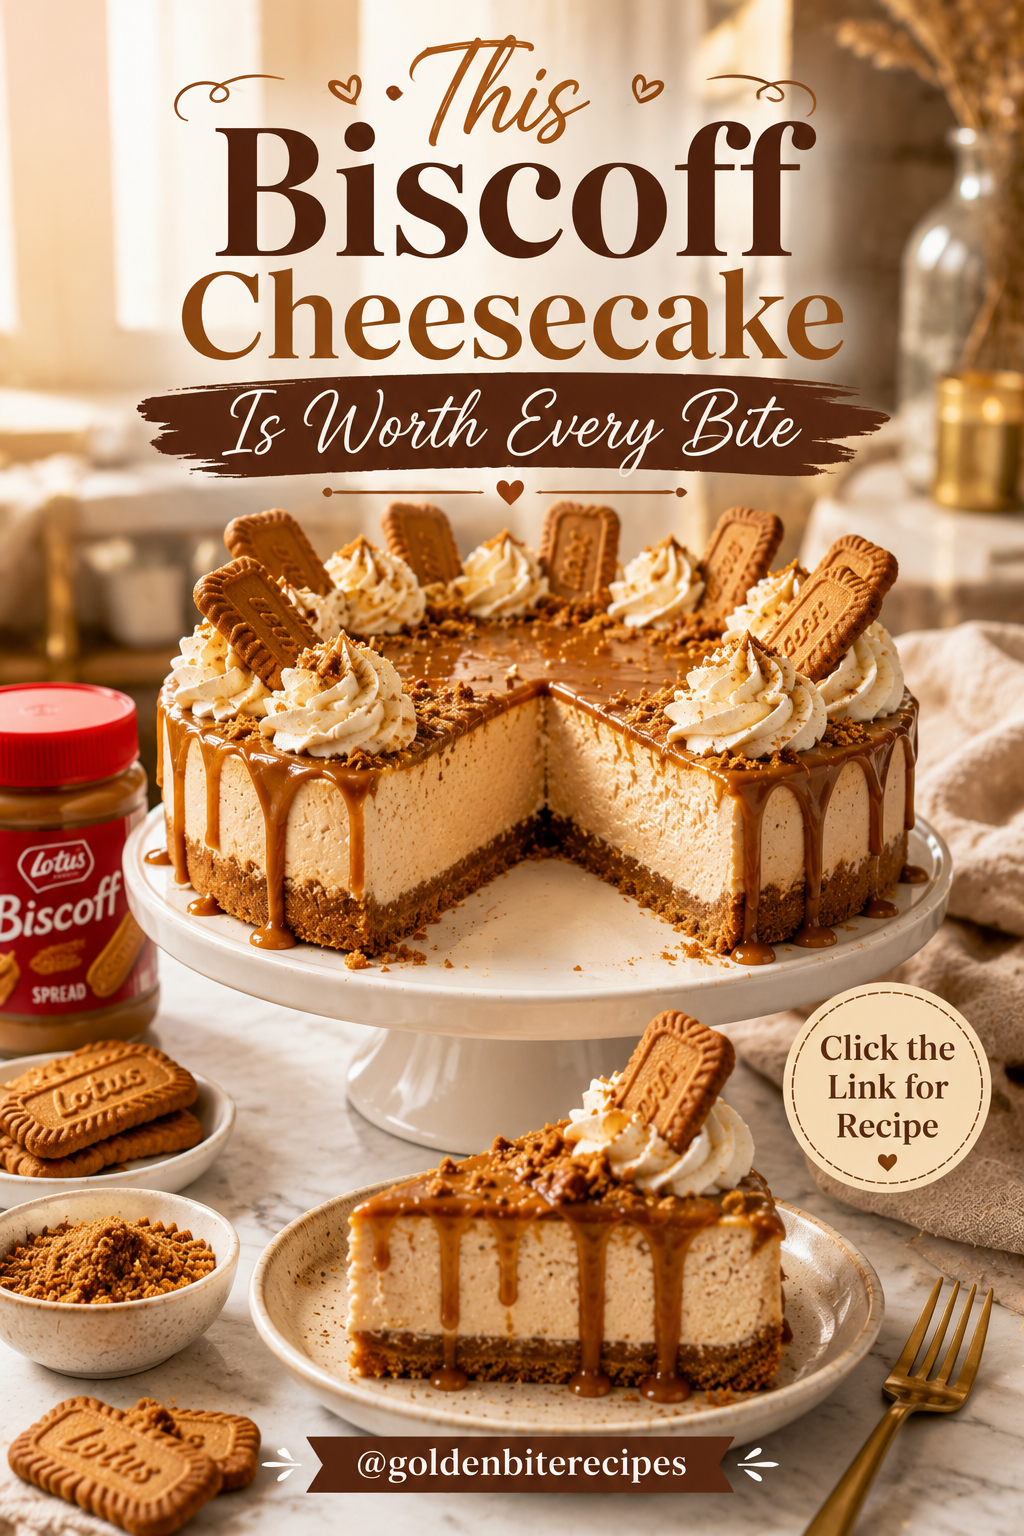
The Creamiest No-Bake Biscoff Cheesecake You’ll Ever Make
If you’re a fan of rich, creamy desserts with just the right amount of caramelized sweetness, you’re about to discover your new favorite cheesecake. This No-Bake Biscoff Cheesecake has everything you could ever want in a dessert—an irresistibly crunchy cookie crust, a silky smooth cheesecake filling, and a glossy layer of melted Biscoff spread that takes every bite to another level.
The first time I made this cheesecake, I wasn’t expecting much. I had a jar of Biscoff spread sitting in my pantry and a package of Lotus Biscoff cookies left over from another recipe. Instead of making my usual cheesecake, I decided to experiment.
One slice turned into two.
Then everyone at the table started asking for seconds.
By the end of the evening, there wasn’t a single crumb left.
Since then, this cheesecake has become one of my most requested desserts. It’s the recipe friends ask for after parties, the dessert my family requests for birthdays, and the one I always bring to holiday gatherings because I know it will disappear quickly.
The best part?
You don’t even have to turn on the oven.
Unlike traditional baked cheesecakes that require water baths, careful temperature control, and hours of cooling, this version is incredibly simple. A few easy ingredients, a little patience while it chills, and you’ll have a bakery-quality dessert that looks absolutely stunning.
Whether you’re celebrating a birthday, hosting a dinner party, or simply treating yourself after a long week, this cheesecake never disappoints.
Why You’ll Love This Recipe
There are hundreds of cheesecake recipes online, but this one stands out for several reasons.
No Baking Required
No worrying about cracked cheesecakes or complicated baking techniques.
Simply prepare, chill, and enjoy.
Rich But Light
The filling is incredibly creamy without feeling overly heavy.
Every bite practically melts in your mouth.
Perfect for Beginners
If you’ve never made cheesecake before, this recipe is an excellent place to start.
Every step is straightforward and beginner-friendly.
Gorgeous Presentation
The glossy Biscoff topping, cookie crumbs, and decorative whipped cream make this dessert look like it came straight from an expensive bakery.
Great for Parties
Because it needs to chill beforehand, you can prepare it a day in advance, making entertaining completely stress-free.
What Is Biscoff?
If you’ve never tasted Lotus Biscoff before, you’re in for a treat.
Originally created in Belgium, Biscoff cookies are famous for their crispy texture and rich caramelized flavor.
They’re lightly spiced with cinnamon and brown sugar, giving them a warm, comforting taste that’s completely unique.
The cookie spread is made by blending these famous biscuits into an incredibly smooth, creamy spread.
Think peanut butter…
But with caramel cookie flavor.
Once you try it, you’ll understand why it’s become one of Pinterest’s most viral dessert ingredients.
What Makes This Cheesecake Special?
Many no-bake cheesecakes taste overly sweet or too dense.
This recipe is different.
The cream cheese provides richness.
Whipped cream creates an airy texture.
The Biscoff spread adds deep caramel notes.
Meanwhile, the cookie crust delivers the perfect crunch that balances every creamy bite.
Instead of one overwhelming flavor, you get layers of texture and taste that work beautifully together.
It’s rich.
But not too rich.
Sweet.
But perfectly balanced.
Creamy.
Yet wonderfully light.
Ingredients
One reason this recipe is so popular is that it uses simple ingredients that are easy to find.
For the Cookie Crust
- 300g Lotus Biscoff biscuits
- 120g unsalted butter, melted
- Pinch of salt
The buttery cookie crust provides the perfect crunchy foundation for the creamy filling.
For the Cheesecake Filling
- 500g full-fat cream cheese, softened
- 1 cup heavy whipping cream
- ¾ cup powdered sugar
- 1 teaspoon vanilla extract
- 1 cup smooth Biscoff spread
Using full-fat cream cheese creates the richest texture.
Reduced-fat cream cheese contains more water, which can prevent the cheesecake from setting properly.
For the Topping
- ½ cup melted Biscoff spread
- Crushed Lotus biscuits
- Whipped cream
- Whole Biscoff cookies
These finishing touches transform the cheesecake from homemade into bakery-quality.
Kitchen Equipment You’ll Need
Fortunately, you won’t need any special equipment.
Gather these simple tools before you begin.
- 9-inch springform pan
- Food processor
- Mixing bowls
- Electric hand mixer
- Rubber spatula
- Offset spatula
- Measuring cups
- Measuring spoons
Having everything ready before you begin makes the process much easier.
Step 1: Prepare the Cookie Crust
Place the Lotus Biscoff biscuits into a food processor.
Blend until they become very fine crumbs.
If you don’t own a food processor, place the biscuits inside a zip-top bag and crush them using a rolling pin.
Transfer the crumbs to a large bowl.
Pour the melted butter over the crumbs.
Add a small pinch of salt.
Mix thoroughly until every crumb is evenly coated.
The mixture should resemble wet sand.
Press the mixture firmly into the bottom of your springform pan.
Use the bottom of a measuring cup to compact the crust tightly.
This helps prevent the crust from crumbling when sliced.
Place the pan in the refrigerator while preparing the filling.
Step 2: Prepare the Cheesecake Filling
In a large mixing bowl, beat the softened cream cheese until completely smooth.
Don’t rush this step.
Any lumps left now will remain in the finished cheesecake.
Once smooth, gradually add the powdered sugar.
Continue mixing until fully incorporated.
Next, add the vanilla extract.
Finally, spoon in the smooth Biscoff spread.
Mix until the filling becomes silky, creamy, and evenly colored.
At this stage, your kitchen will already smell incredible.
The caramel aroma from the Biscoff spread combined with vanilla is absolutely irresistible.
Step 3: Whip the Cream
In a separate chilled bowl, pour in the heavy whipping cream.
Beat until stiff peaks form.
Avoid overwhipping, as the cream can become grainy.
Once whipped, gently fold it into the cream cheese mixture using a rubber spatula.
Take your time.
Folding instead of stirring keeps the filling light and fluffy.
This simple technique is one of the biggest secrets behind a bakery-style cheesecake texture.
By the time the filling is finished, it should be smooth, airy, and thick enough to hold its shape while still looking silky.
Step 4: Assemble the Cheesecake
Remove the prepared cookie crust from the refrigerator.
Pour the cheesecake filling onto the chilled crust.
Using an offset spatula or the back of a spoon, spread the filling evenly from edge to edge.
Take your time smoothing the top. A level surface gives the cheesecake a professional bakery-style appearance once it’s decorated.
Lightly tap the pan on the counter a few times to remove any trapped air bubbles.
Cover the cheesecake with plastic wrap or aluminum foil.
Place it in the refrigerator for at least 6 hours, but overnight is highly recommended. The longer it chills, the firmer and creamier the texture becomes.
Step 5: Prepare the Biscoff Topping
Just before serving, melt the Biscoff spread in the microwave for 15–20 seconds or warm it gently over a double boiler until smooth and pourable.
Don’t overheat it—you want it silky, not runny.
Pour the melted Biscoff spread over the chilled cheesecake.
Use a spatula to gently spread it into an even layer, allowing it to naturally flow toward the edges.
This glossy caramel-colored topping is what makes the cheesecake truly unforgettable.
Step 6: Decorate Like a Bakery
Decoration is where this cheesecake goes from homemade to showstopping.
Pipe swirls of whipped cream around the edge of the cheesecake using a star piping tip.
Place one Lotus Biscoff cookie into each whipped cream swirl.
Sprinkle crushed Biscoff cookies over the center.
For an extra elegant touch, drizzle a little extra melted cookie butter over the top.
Now your cheesecake looks like it belongs in the display case of a high-end bakery.
Pro Tips for the Perfect Cheesecake
Always Use Room Temperature Cream Cheese
Cold cream cheese creates lumps that are difficult to remove.
Allow it to sit at room temperature for about 30–45 minutes before mixing.
Chill Overnight
Although the cheesecake sets after several hours, overnight chilling creates the creamiest texture and cleaner slices.
Use Full-Fat Ingredients
Full-fat cream cheese and heavy cream produce the richest, smoothest filling.
Slice with a Warm Knife
Dip your knife in hot water and wipe it dry before each cut.
This creates perfectly clean bakery-style slices every time.
Don’t Skip the Cookie Crumbs
The crushed Biscoff cookies on top add texture and make every bite even more flavorful.
Common Mistakes to Avoid
Overmixing the Filling
Mix until smooth, but don’t overbeat once the whipped cream has been folded in.
Too much mixing can remove the light, airy texture.
Using Low-Fat Cream Cheese
Reduced-fat versions contain more water, which may prevent the cheesecake from setting properly.
Rushing the Chilling Process
Patience is key.
If the cheesecake hasn’t chilled long enough, it won’t hold its shape when sliced.
Adding Hot Topping
Allow the melted Biscoff spread to cool slightly before pouring it over the cheesecake.
Very hot topping can soften the filling.
Skipping the Springform Pan
A springform pan makes removing the cheesecake much easier and helps maintain its beautiful shape.
Delicious Variations
Chocolate Biscoff Cheesecake
Add melted dark chocolate to the filling for an even richer dessert.
Top with chocolate curls instead of cookie crumbs.
White Chocolate Biscoff Cheesecake
Mix melted white chocolate into the filling for a sweeter, creamier version.
Mini Biscoff Cheesecakes
Prepare the recipe in muffin tins lined with cupcake liners.
Perfect for parties and portion control.
Salted Caramel Biscoff Cheesecake
Drizzle salted caramel sauce over the finished cheesecake.
The combination of sweet and salty flavors is incredible.
Biscoff Cheesecake Cups
Layer crushed cookies, cheesecake filling, and melted Biscoff spread into serving glasses for a quick no-bake dessert.
What to Serve with Biscoff Cheesecake
Although it’s delicious on its own, pairing it with a few extras makes dessert even more memorable.
Fresh strawberries add a refreshing contrast to the rich filling.
Fresh raspberries provide a slightly tart balance.
A scoop of vanilla ice cream creates an indulgent dessert plate.
Whipped cream adds lightness.
Coffee is perhaps the best pairing of all.
The deep roasted flavors of espresso beautifully complement the caramelized notes of Biscoff.
Storage Instructions
This cheesecake stores beautifully, making it perfect for preparing in advance.
Store it covered in the refrigerator for up to five days.
Keep it inside an airtight container or tightly cover the pan with plastic wrap.
For the freshest flavor and texture, avoid leaving it at room temperature for more than two hours.
Can You Freeze It?
Absolutely.
In fact, this cheesecake freezes surprisingly well.
To freeze:
- Allow the cheesecake to chill completely.
- Slice into individual portions.
- Wrap each slice tightly in plastic wrap.
- Place the wrapped slices inside a freezer-safe container.
Freeze for up to two months.
When ready to enjoy, thaw overnight in the refrigerator.
Frequently Asked Questions
Can I use another cookie instead of Biscoff?
Yes. Graham crackers, digestive biscuits, or gingersnaps all work well, although they will change the overall flavor.
Can I make this ahead of time?
Definitely.
It’s actually even better the next day, making it perfect for entertaining.
Can I use whipped topping instead of heavy cream?
Heavy cream produces the best texture, but stabilized whipped topping can be used if needed.
Why didn’t my cheesecake set?
Usually this happens because it wasn’t chilled long enough or low-fat dairy products were used.
Do I have to use a springform pan?
No, but it makes serving much easier and creates cleaner slices.
Can I add fruit?
Yes.
Fresh strawberries, bananas, raspberries, or blueberries pair wonderfully with Biscoff.
Can I make this gluten-free?
Yes.
Simply use gluten-free caramel-style biscuits for the crust.
How do I get perfect slices?
Use a sharp knife dipped in hot water and wipe it clean after every cut.
Nutrition Information
Approximate values per slice (based on 12 servings):
- Calories: 520
- Protein: 6g
- Fat: 36g
- Carbohydrates: 45g
- Sugar: 28g
- Fiber: 1g
- Sodium: 260mg
These values are estimates and may vary depending on the specific ingredients used.
Why Everyone Loves This Cheesecake
There’s something special about a dessert that’s both simple and luxurious.
It doesn’t require advanced baking skills.
It doesn’t involve complicated techniques.
Yet every slice looks elegant enough for a celebration.
The crunchy cookie crust, silky cheesecake filling, and glossy Biscoff topping create a dessert that’s rich, creamy, and packed with irresistible caramelized flavor.
Whether you’re making it for a birthday, holiday gathering, family dinner, or simply because you’re craving something sweet, this cheesecake is guaranteed to impress.
Final Thoughts
Some desserts are good.
Others become family traditions.
This No-Bake Biscoff Cheesecake belongs in the second category.
It’s the kind of recipe people remember long after the last slice has disappeared. Every creamy bite delivers the perfect balance of buttery cookie crust, velvety cheesecake filling, and rich Biscoff flavor that keeps everyone coming back for more.
If you’re searching for a dessert that’s easy enough for beginners yet impressive enough for special occasions, this is the one to make.
Don’t be surprised when your family and friends ask for the recipe—or when they think you picked it up from a professional bakery.
After all, this Biscoff cheesecake really is worth every bite.